Thursday, April 17, 2014

Paper Dress: Easter Egg Paper Dress

Easter is just around the corner and all kinds of egg drawing, egg painting and egg hunting activities are ongoing at schools now.

I found some Easter egg coloring pattern online. Little E and I had fun coloring eggs on paper!


 We cut them out and made some bunny ears for the dress.


Then we glued the eggs and flowers on the dress together.


Look how colorful and cheery it is!


Here it is our 9th paper dress - The Easter Egg!
Happy Easter, everyone!


Tuesday, April 15, 2014

Storybook: The SqueezeNecker


Last Saturday, the kids wanted to have a piece of chocolate in the afternoon. As Daddy was opening the pantry, Big E yelled excitedly "I want, the, the, hmm, the SqueezeNecker!"

Knowing what he was really asking for, I couldn't stop laughing and told him it's called "Snickers". After Big E opened his mini Snickers, it was indeed a bit squeezed and crushed!

Two days later, Big E came up with his fifth storybook - The SqueeseNecker.


Thursday, April 10, 2014

Paper Dress: The Doughnut Ballerina

I'm not trying to advertise for any companies.

But once in a while, we do get the craving for these lovely, soft and sweet rings. They are so warm and devilishly yummy when they are just right out of the fryer.

My favorite is the simple glazed doughnut. Big E and Little E love the ones with chocolate frosting plus multicolored sprinkles.

Why not having fun with doughnuts in another way?! I drew 10 doughnuts on the paper and we cut them out. Little E had a great time coloring them and making different designs!


Then I cut out the skirt using thin poster paper. Cut one layer of pink tissue paper into 5 equal strips. Little E squeezed the white glue on the skirt in a line.I glued 4 wrinkled tissue paper strips on to make ruffles.

Little E glued 3 doughnuts on the 5th tissue paper strip to make a belt.


After gluing the rest of the doughnuts on, here is our 8th paper dress: The Doughnut Ballerina! 
(Little E insisted on the name.)


Thursday, April 3, 2014

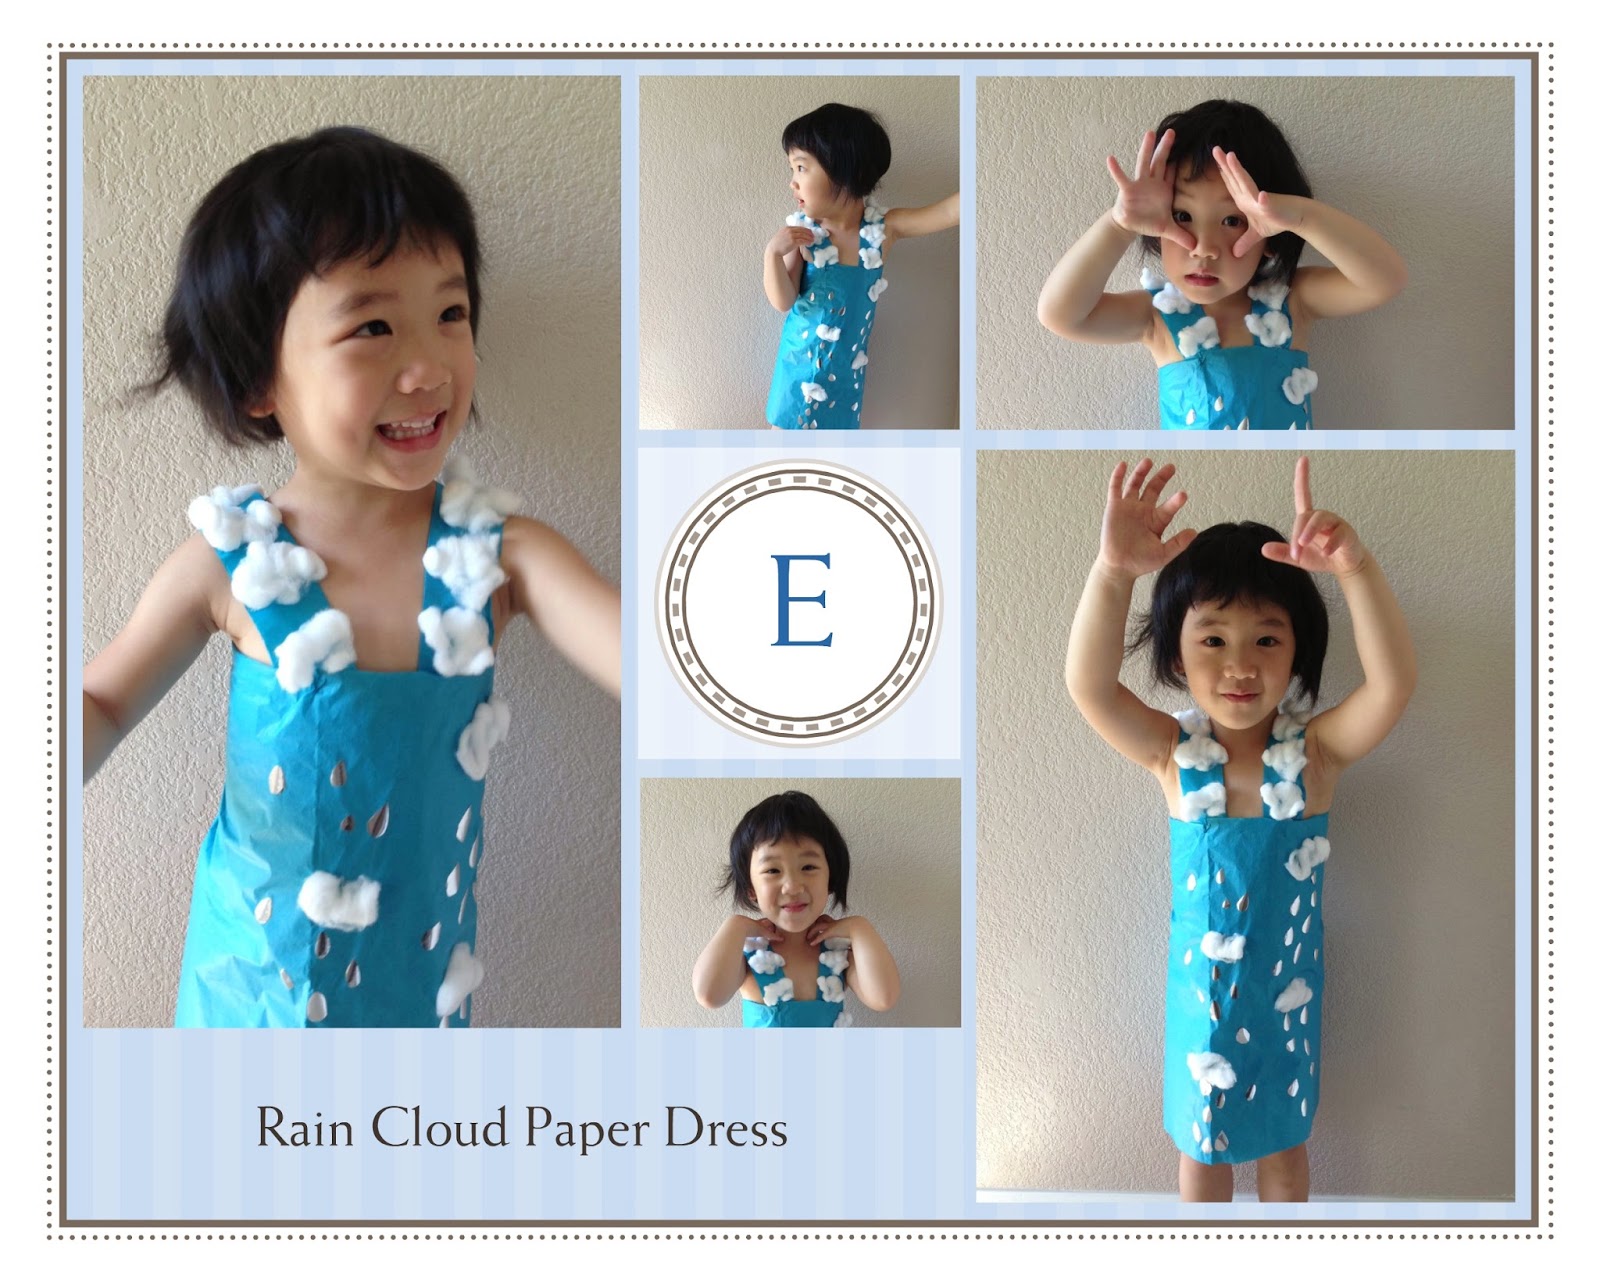
Paper Dress: The Rain Cloud

The rain has been pouring on and off for the past week. The temperature at night has also dropped to winter coldness again.

Little E and Big E definitely missed the sunny days and their fun time outdoors. They kept looking out from the window and the moment it stopped raining, they started asking excitedly "Can we play outside?"

Finally the sky turned baby blue with soft white clouds floating again. The raindrops on the window were glistening in the sunshine.

While we were waiting for the ground outside to dry up, Little E and I came up with an idea for paper dress.


Little E drew some rain drops on a piece of silver origami paper and cut them out.


We gently pulled and loosened some cotton balls. Then we white-glued the cotton balls on two layers of cerulean tissue paper. The glistening rain drops went under the clouds as well. 

 Rainy days aren't so boring after all.
Here is our seventh paper dress - the rain cloud!


Tuesday, April 1, 2014

Artist Inspired Craft Kit - Volcano Under Moonlight

Unlike his mom, Big E always has an interest in science - nature, space, electricity...etc. When I was browsing through Kusama Yayoi's artwork online, Big E glanced at her work on Mt. Fuji. He was excited and asked if he could see the "volcano" more clearly. Here are the four pieces of artwork on Mt. Fuji by Kusama Yayoi:


I chose the one with the blue night sky and 4 moons as my fourth tribute project - "Volcano Under Moonlight".


I prepared the cut-outs for most the elements shown on the original artwork - volcano, grass, trees, road and houses, a piece of black construction paper, some round color labels, and a black marker and a yellow marker.
1. Draw small black triangles on the volcano and yellow ones on the clouds.
2. Glue the houses, trees, and grass on at the bottom of the volcano.
3. Glue the volcano on the black construction paper and the clouds on both sides.
4. Glue the red looped-road and houses on the meadow.
5. Use quartered color labels to decorate the the meadow and the sky.
6. Use yellow round labels to create the 4 moons.


Here is Big E's finished project.
We had so much fun looking at his project right next to the original artwork!